Multimedia - Amplifier and Projector - Page Updated 2 Jan 2026
Our multimedia equipment has been upgraded considerably.
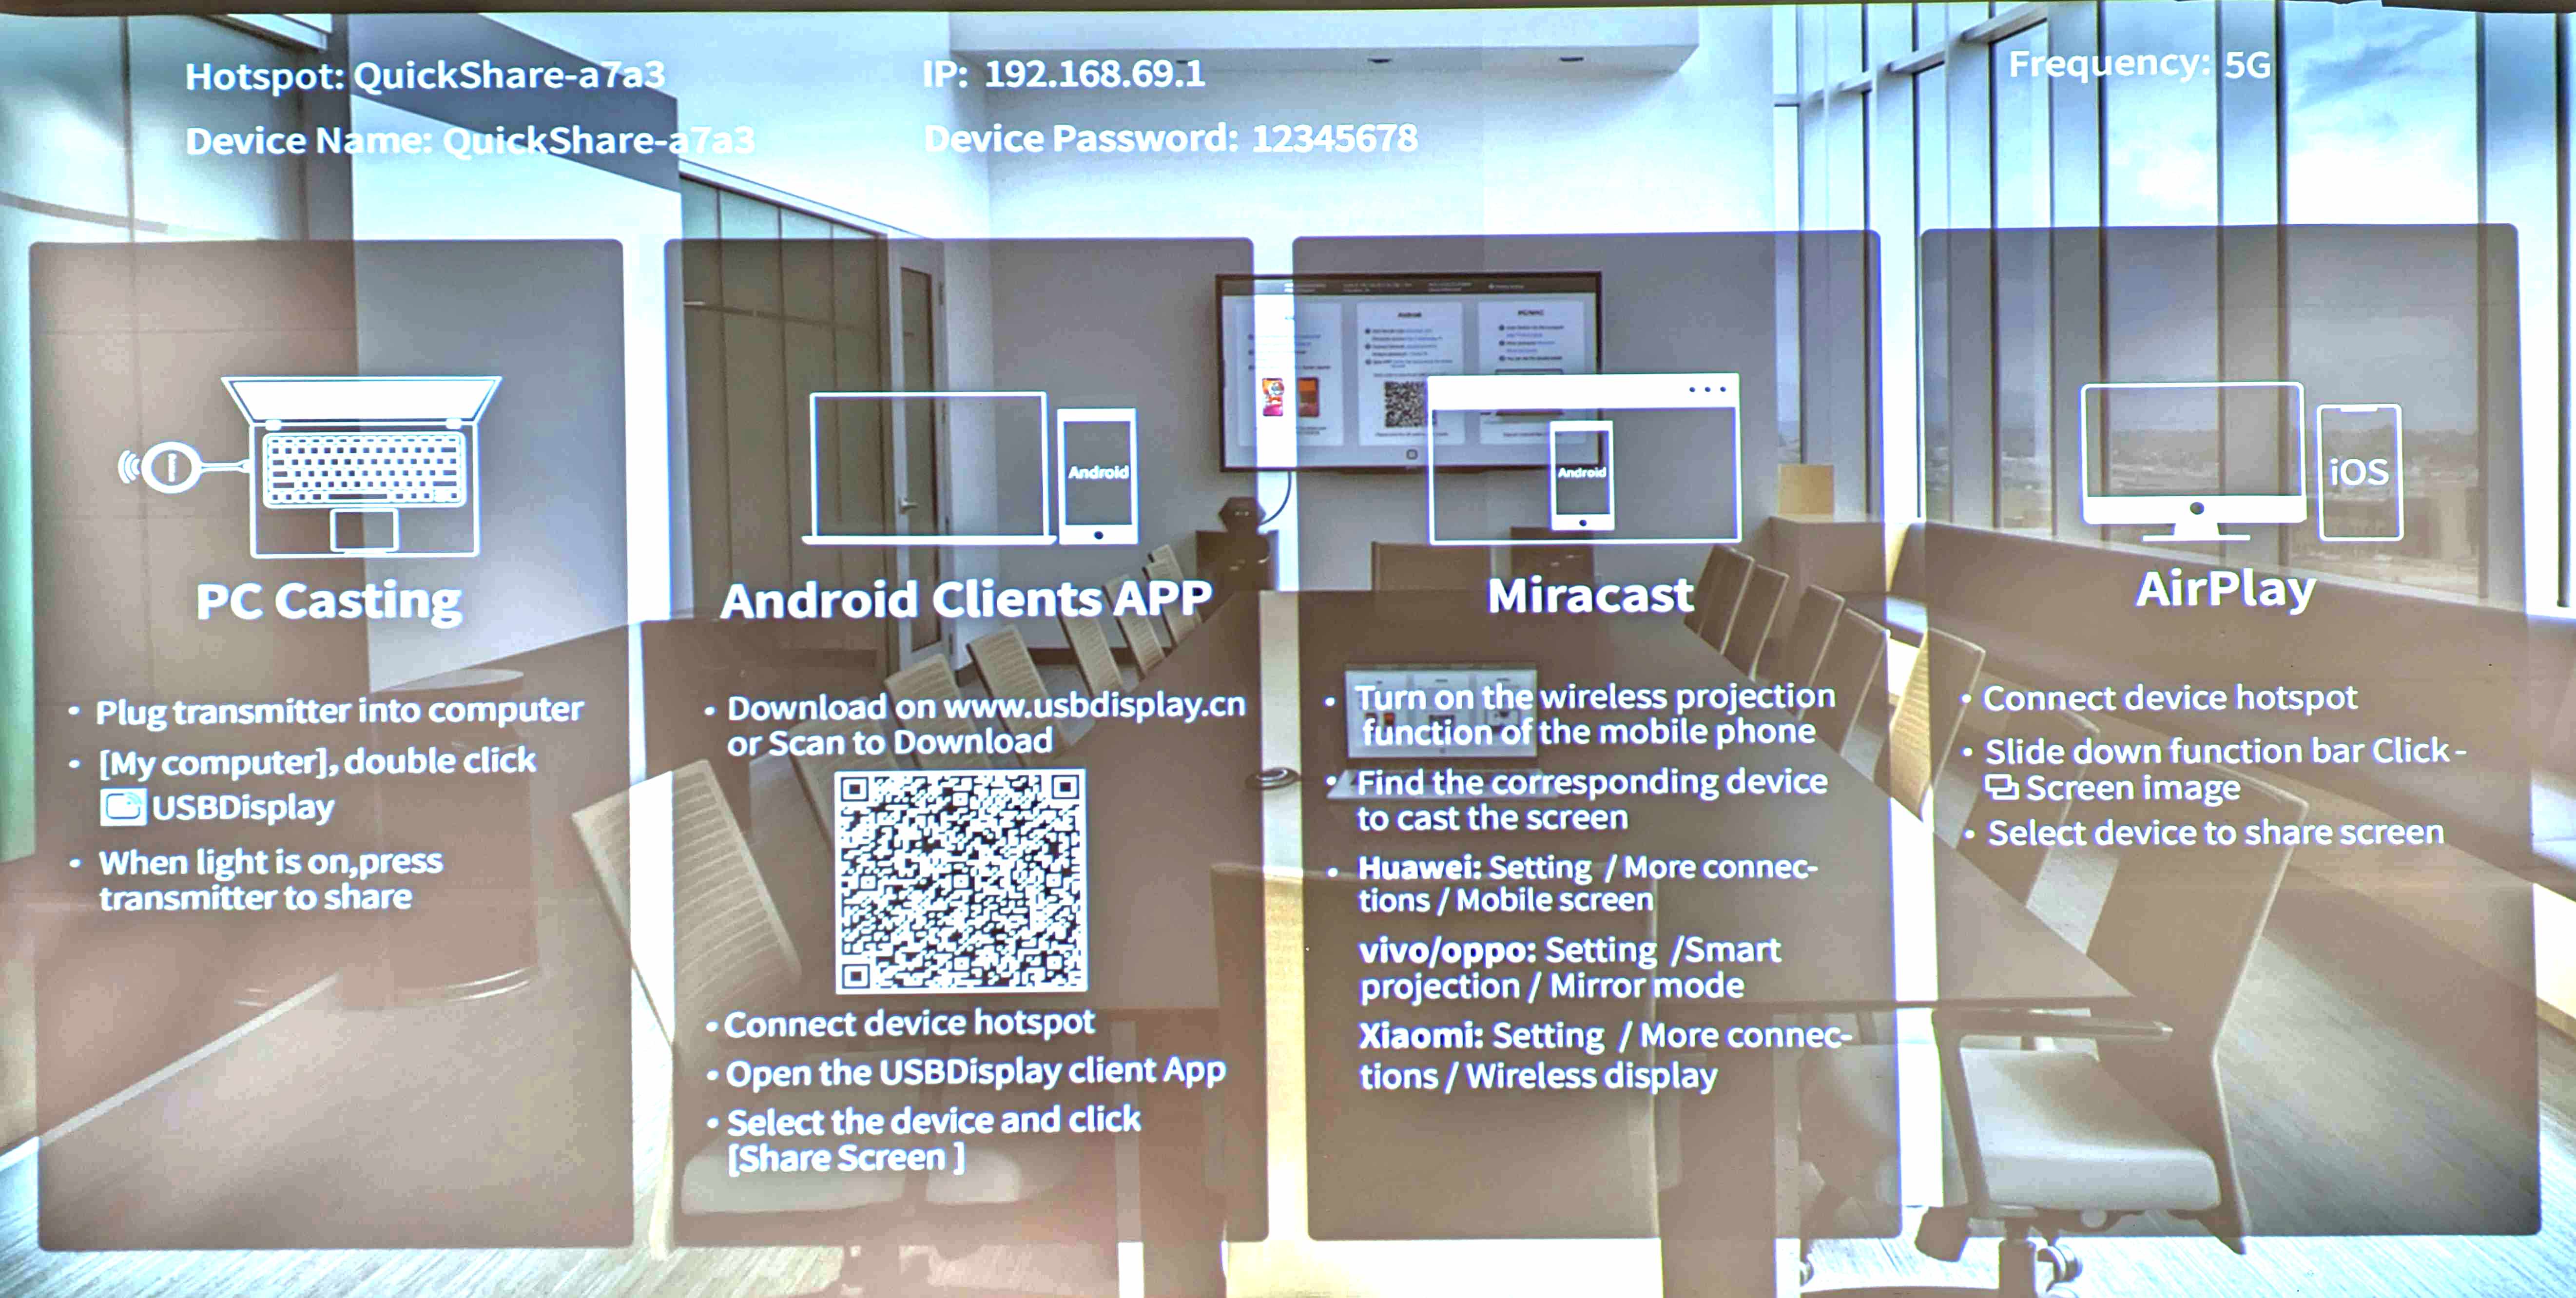
The new equipment comprises a full HD Projector with cordless connections via a USB (and USB C) dongal or Android/Apple casting protocols. Music can be played direct from phones once connected to the bluetooth interface.
Overview
Another locked box houses the radio microphones and a key will be provided to regular users. One off users can be given a key and once the kit is locked back in the box, the key can be posted into the same box though the letter opening slot.
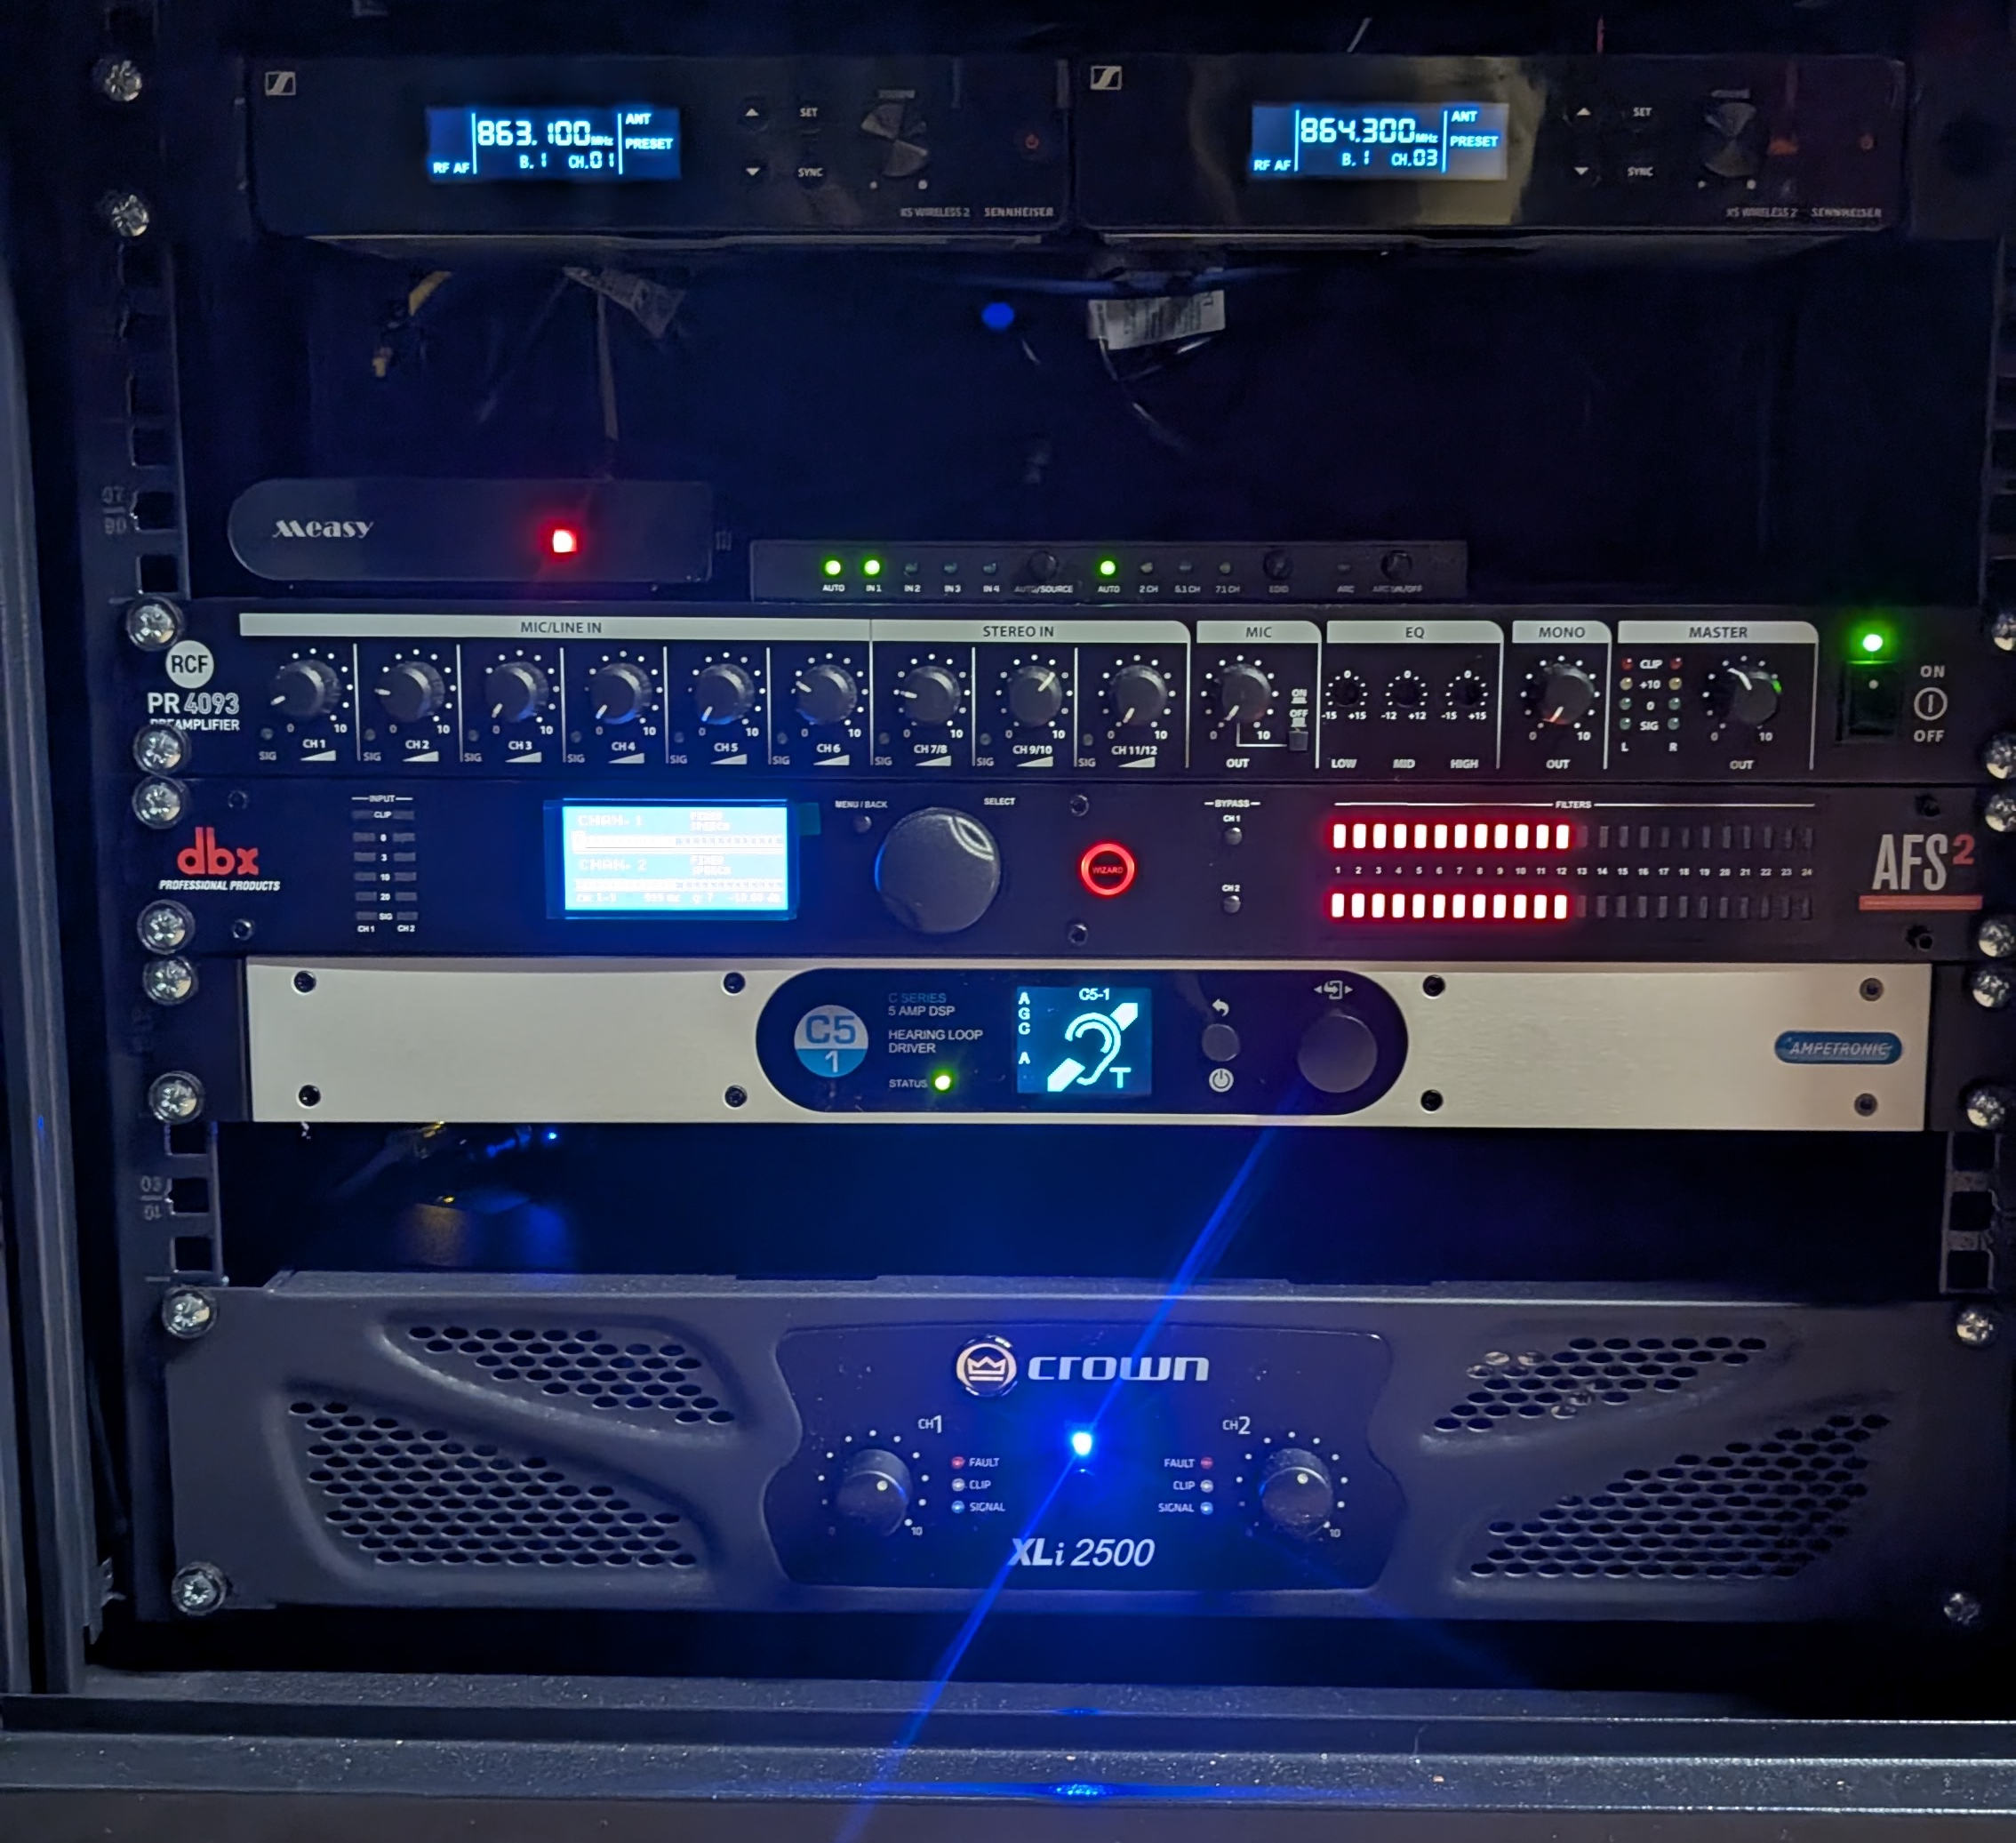
The amplifier supplies 4 speakers in the corners of the hall.
There is a box of electronics that eliminates feedback.
An all new induction loop for the hard of hearing is also in this cabinet.
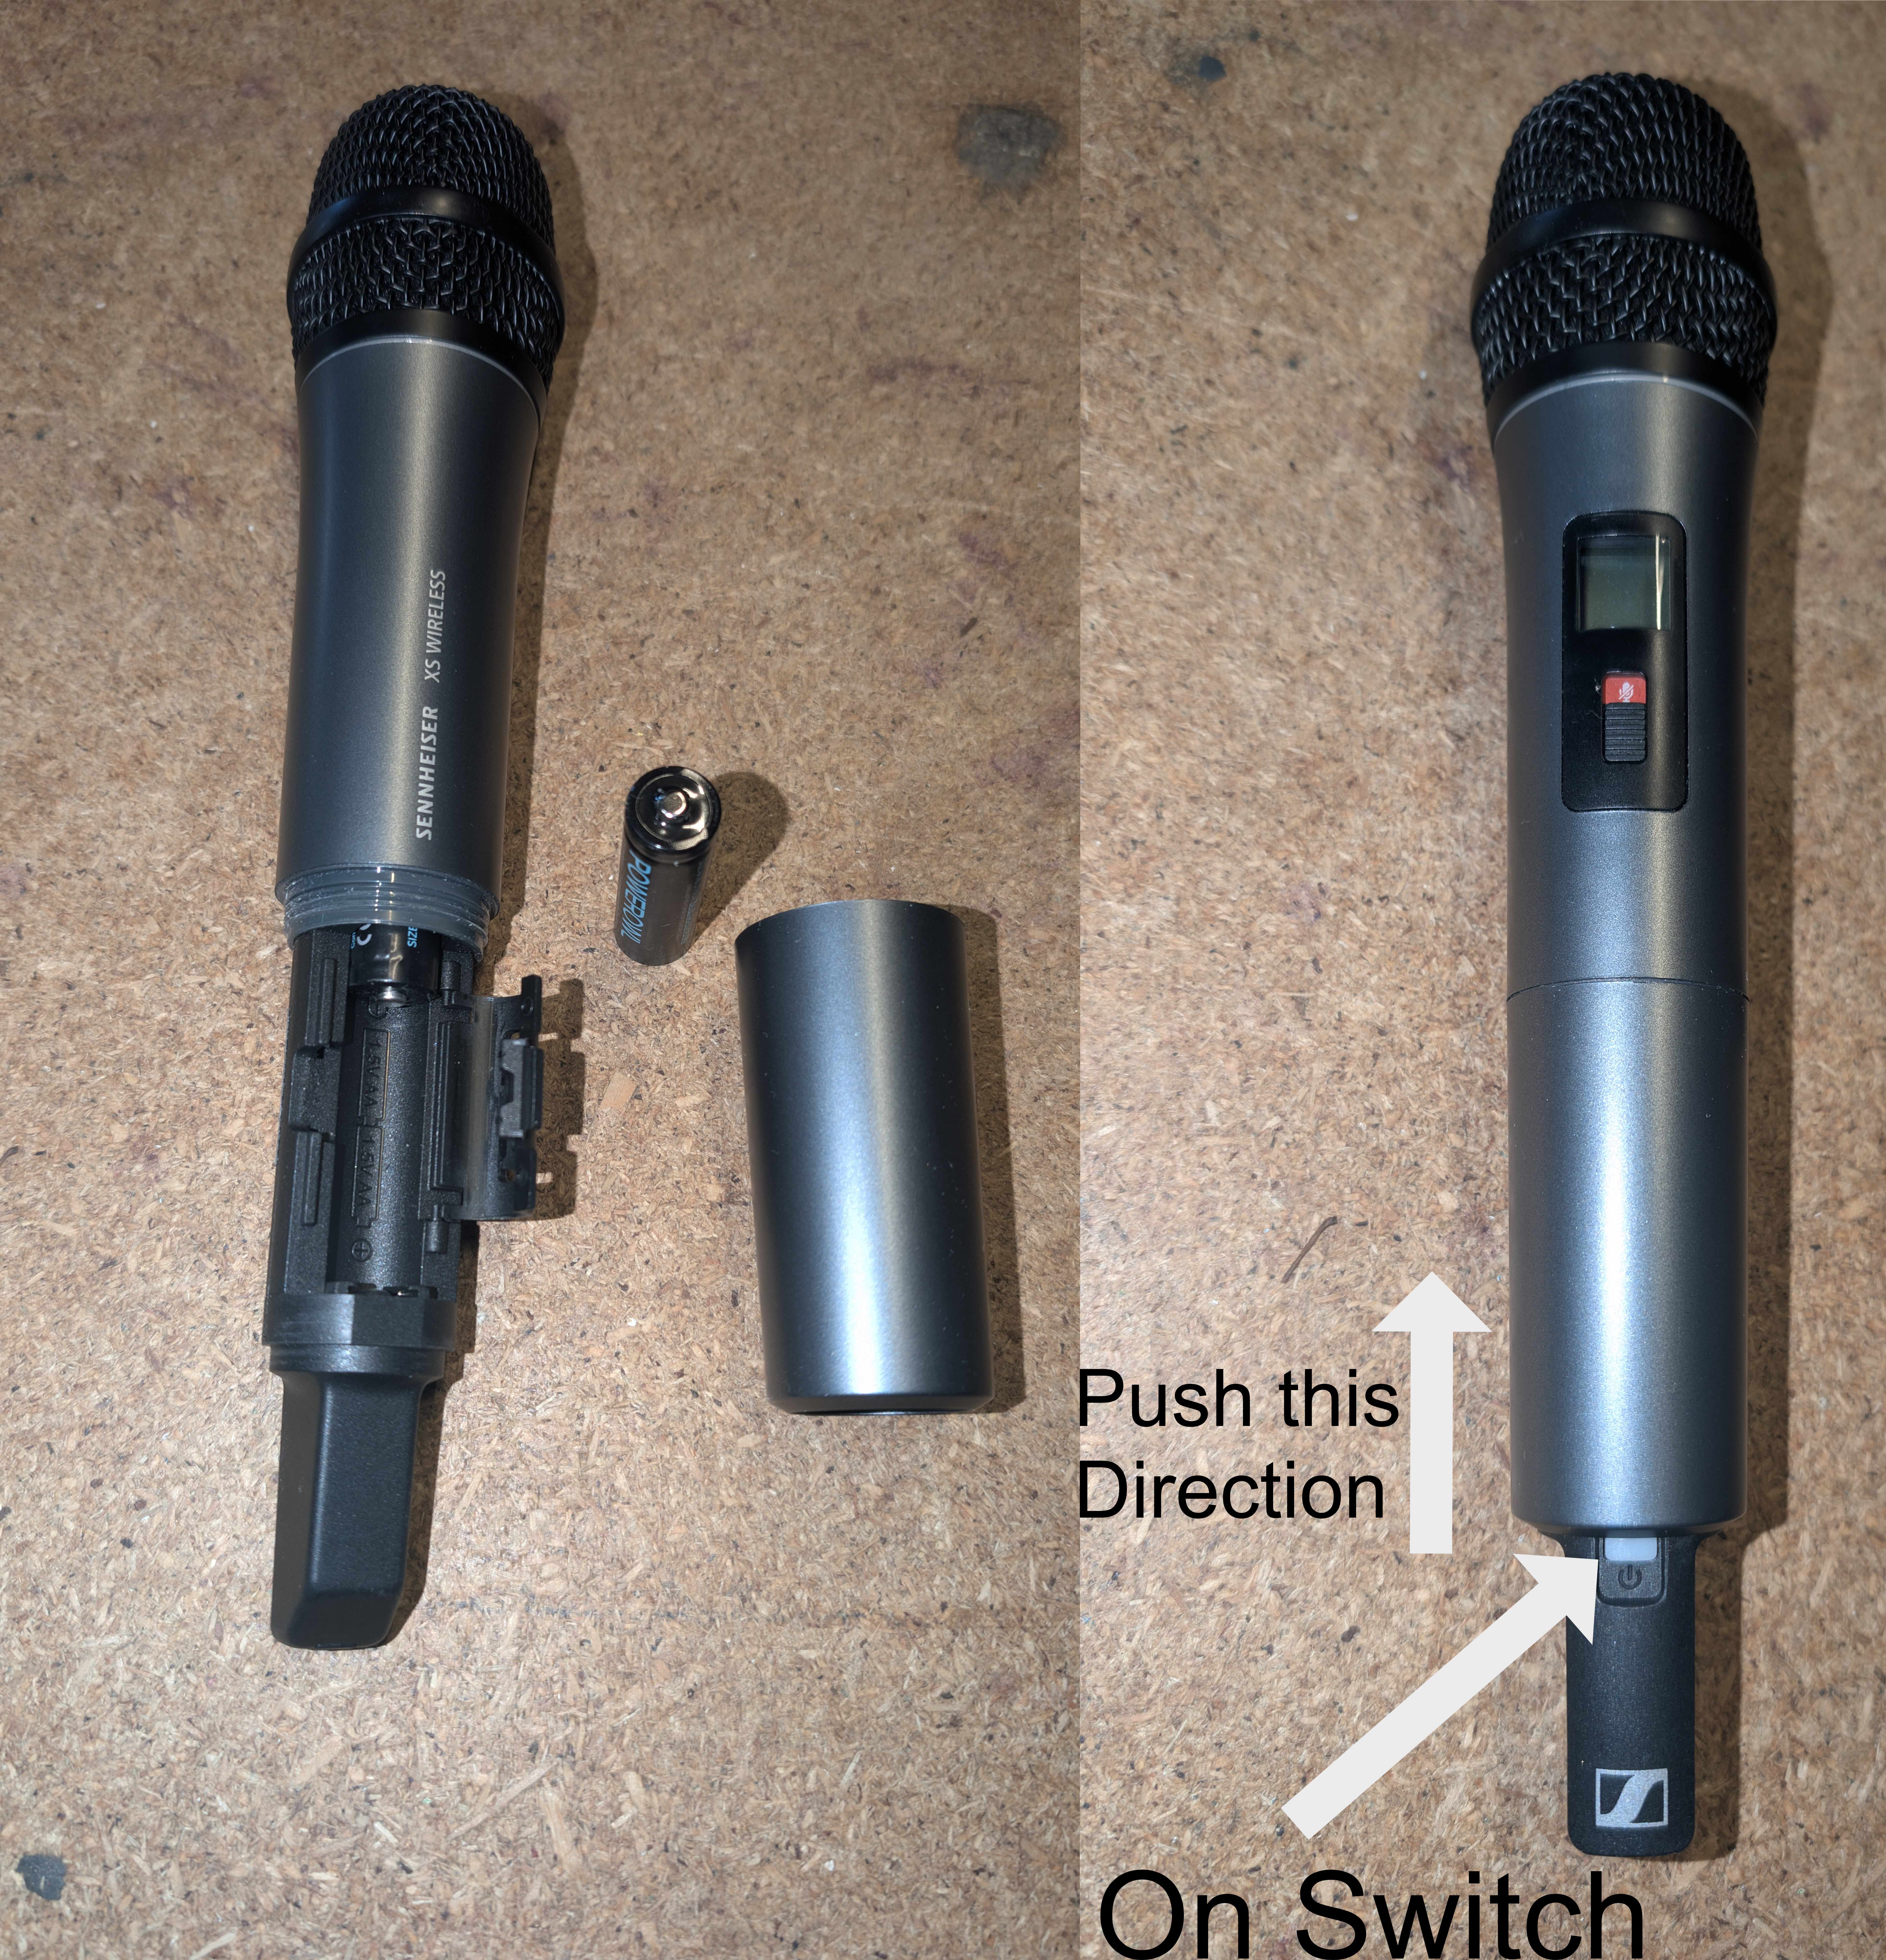
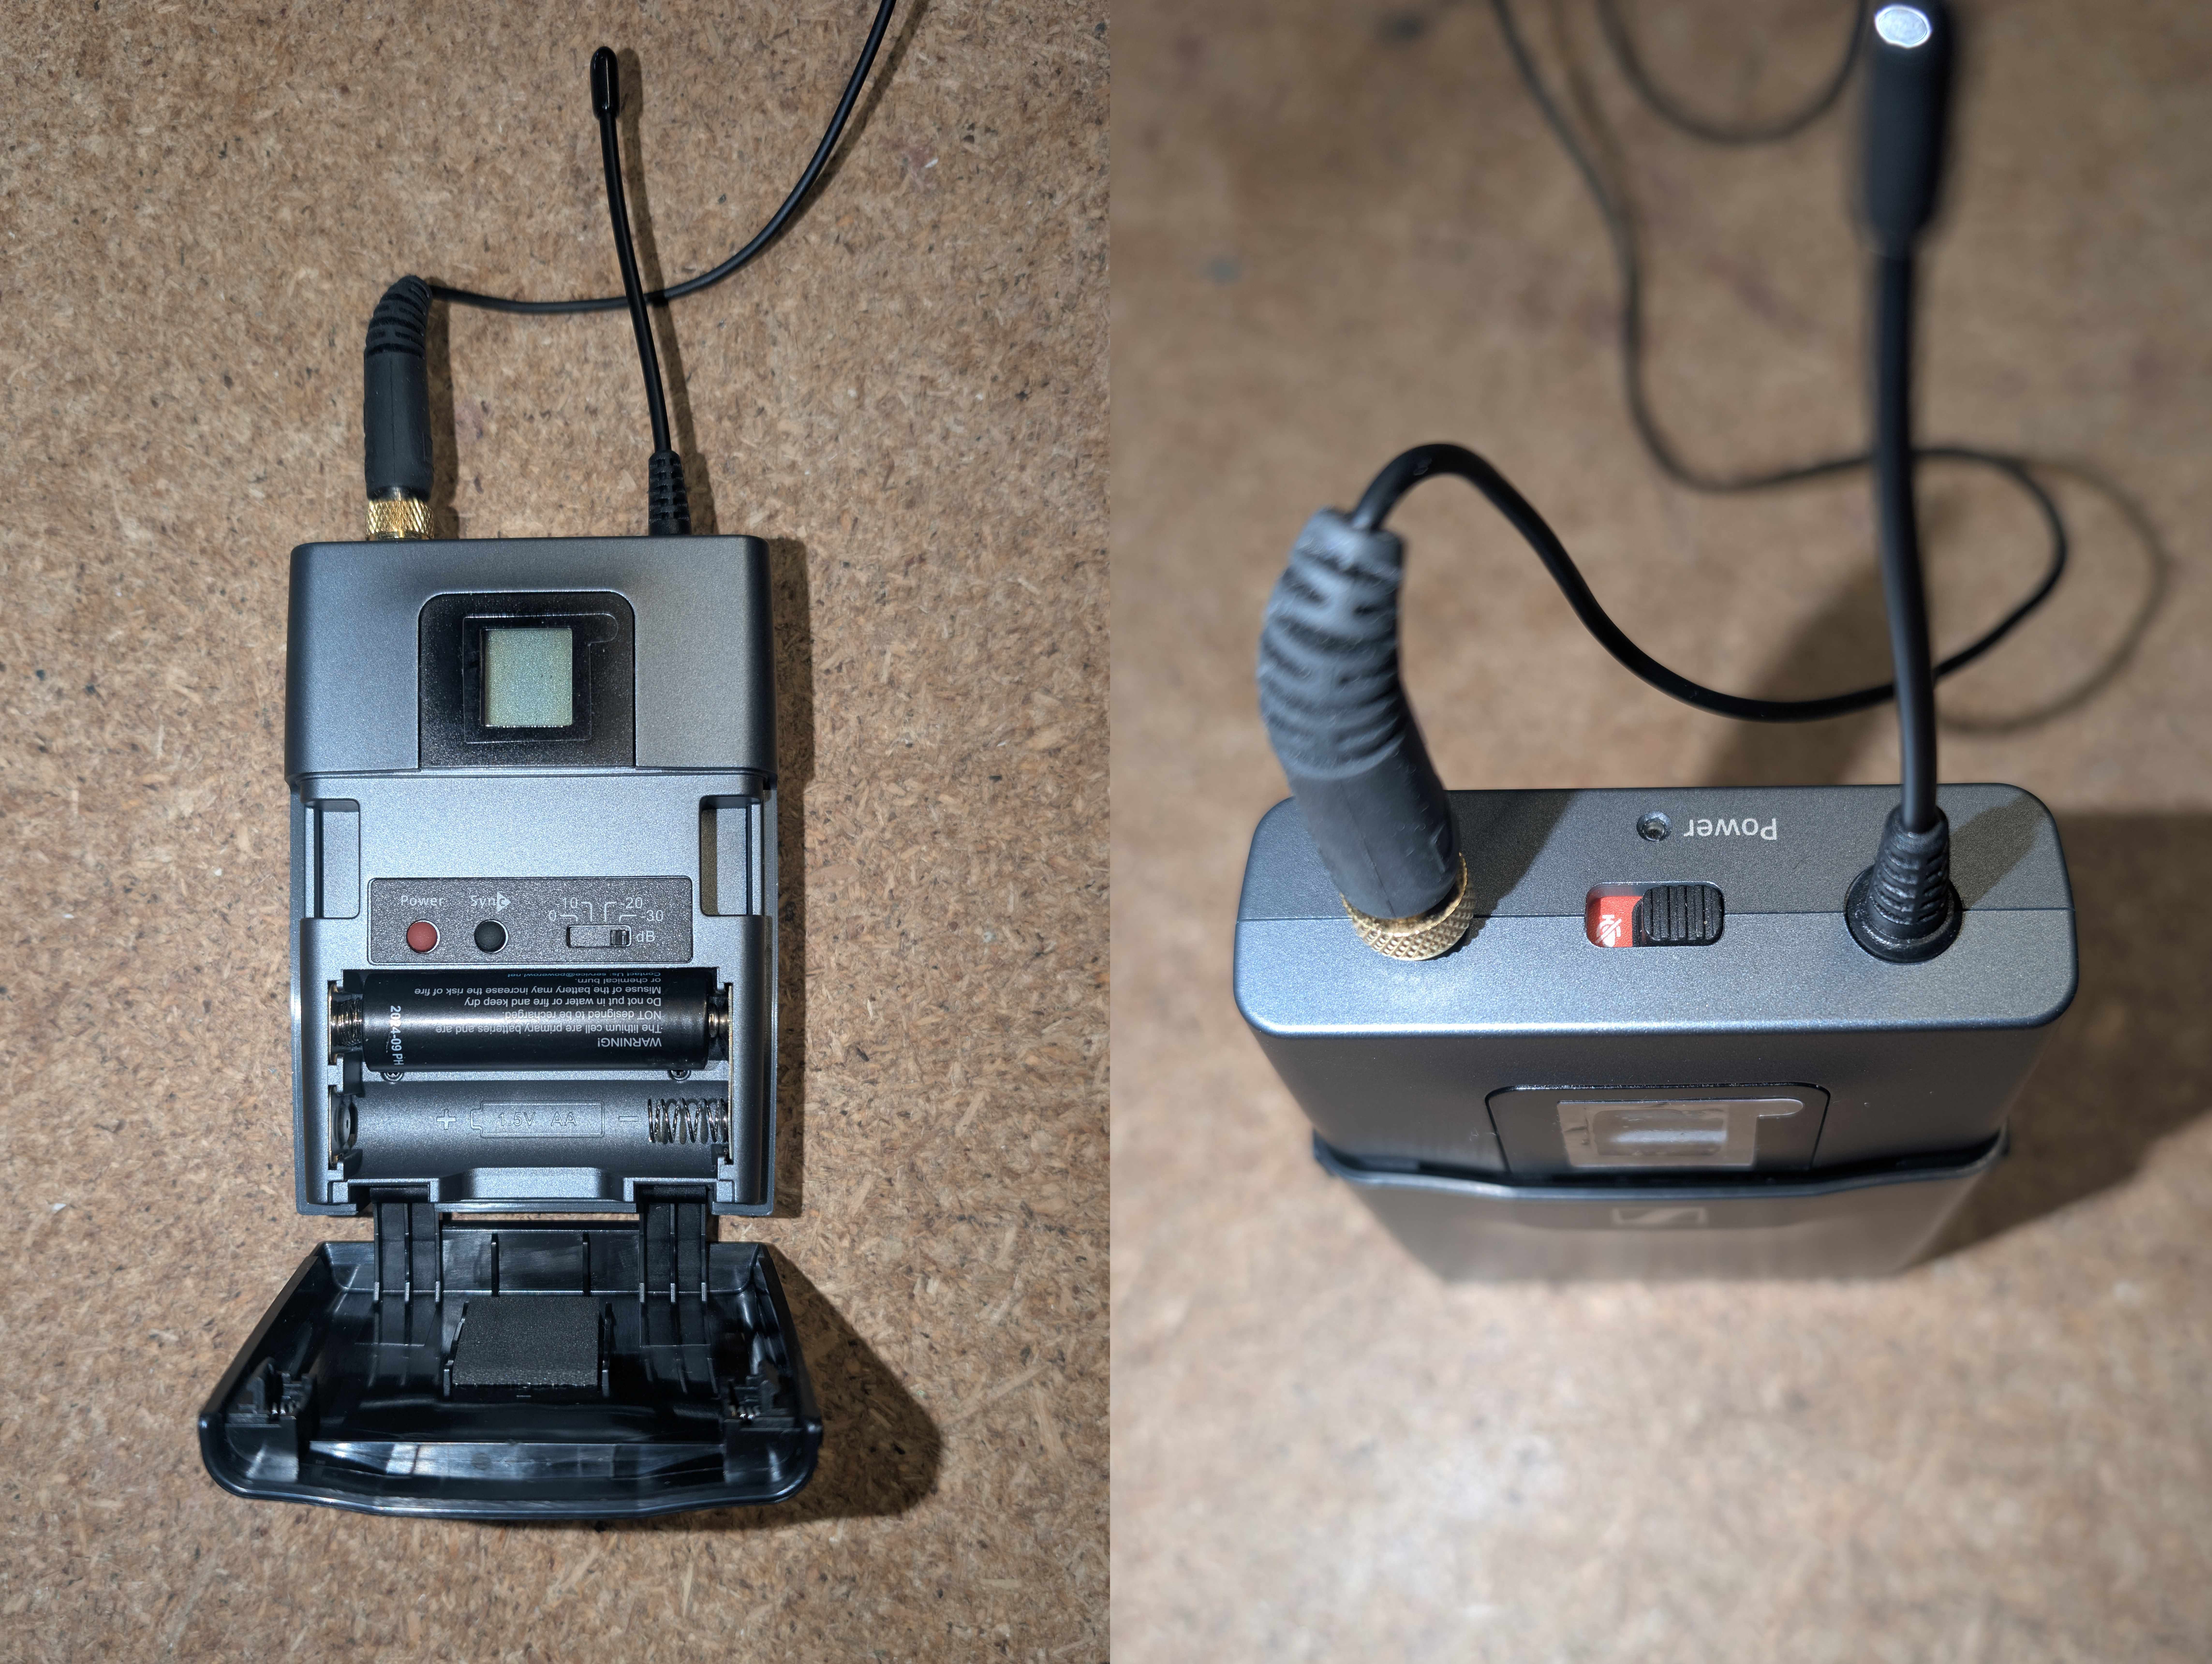
There are 2 radio microphones, a hand held and a lapel version.
There are plans to add a Blue-Ray player so that film nights can be more immersive.
Mobile devices can easily be connected to the Bluetooth receiver for ease of music playing. The Bluetooth device name is Esinkin BT. Press the button on the device that is on top of the cabinet to get it into 'PairMode'. The blue light will flash in pair mode.
There are 2 sockets above the cabinet. One will just turn on the Induction Loop, the other will turn on the amplifier and other boxes.

Projector
The key to lower the projection screen is in the key slot. 2 Switches are needed to be switched on; one to lower the screen and the other to power the projector.
The remote control for the projector is in the smaller locked cabinet.
There is a laptop in the Amplifier cupboard and it will display video and sound via HDMI and wirelessly. You will need to ask to use it.
Any issues encountered call Gary Jackson 07968 561322.
Cabinet keys will be issued to regular users of the AV equipment.


